The following system settings are available to users with technical administrator privileges:
- manage user accounts (Fig. 1.1),
- view the results of the Web-client operations, e.g. user action reports (Fig. 1.2),
- view the results of the completed background tasks of the server (Fig. 1.2).
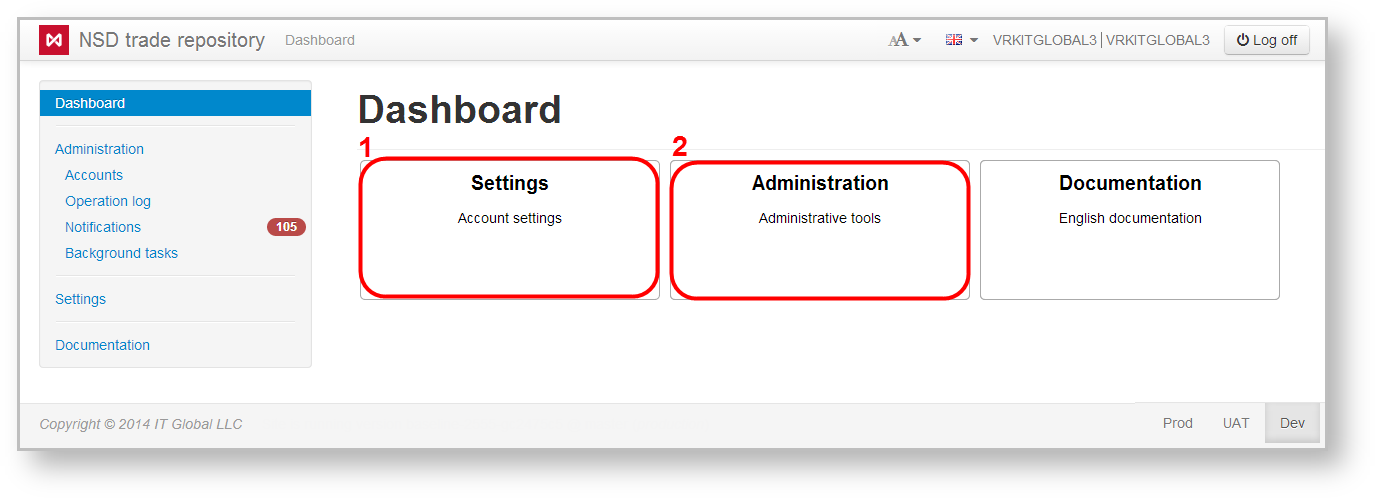
Fig. 1 – Administration form
Accounts
The main task of a technical administrator is to administer accounts of the Web-client users. Setting up accounts includes:
- adding an account;
- editing accounts;
- deleting accounts;
- creating additional accounts.
To set up an account, it is necessary to select Accounts in the sidebar menu. This form contains the following tabs:
- Active accounts;
- Deleted accounts;
- Role.
Active accounts
The tab Active accounts (Fig. 2) displays information about the current system users.
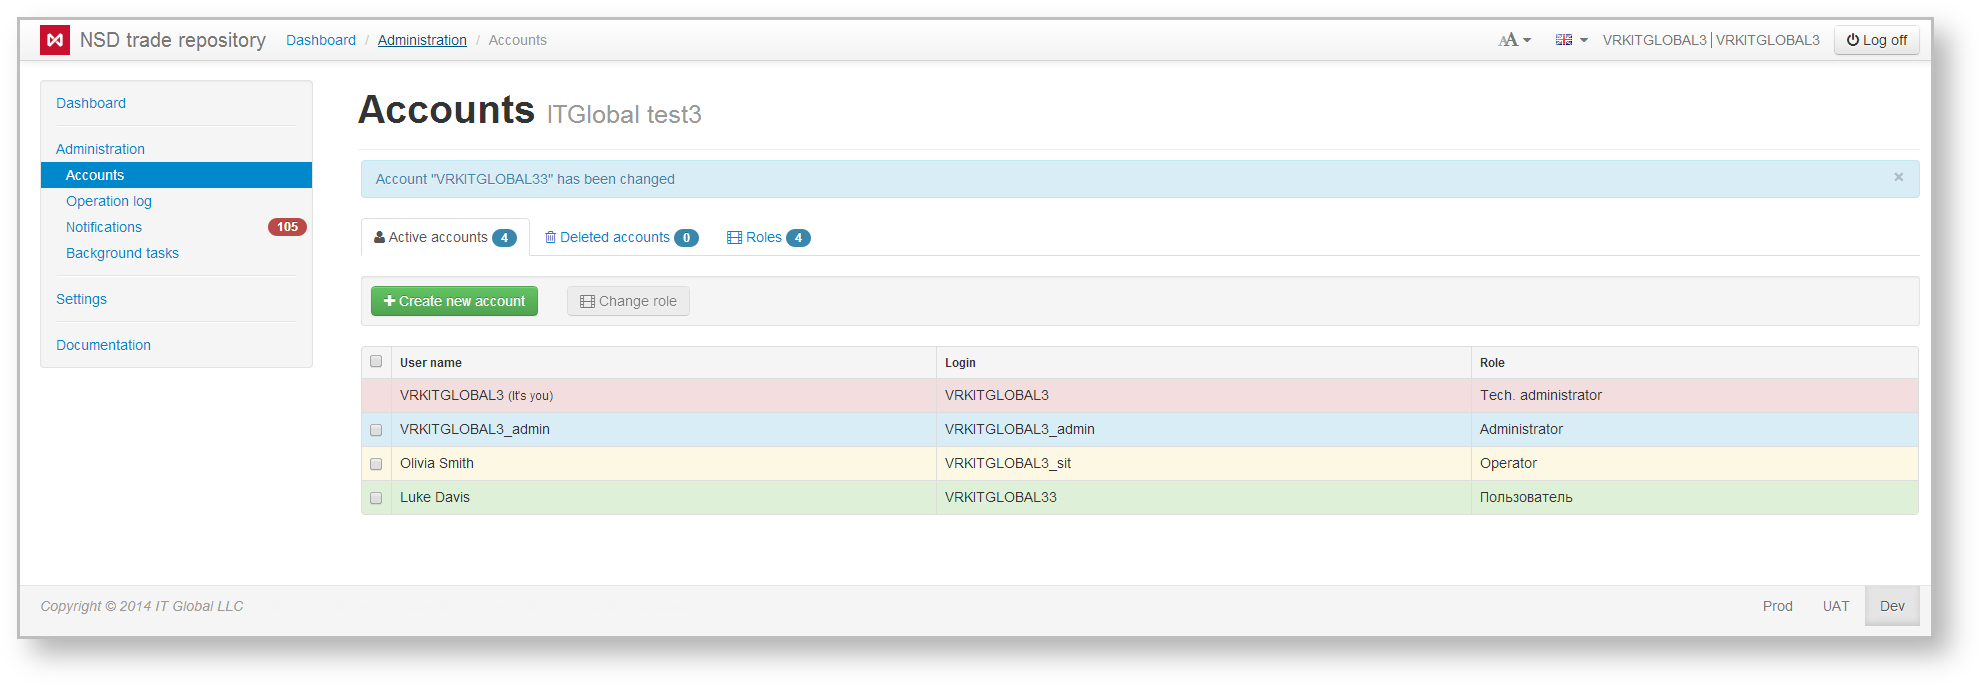
Fig. 2 – Active accounts tab
The background color of table rows corresponds to the type of user:
 – technical administrator
– administrator;
To add a new user under the same party (client of the repository), click on button  . This opens the form (Fig. 3).
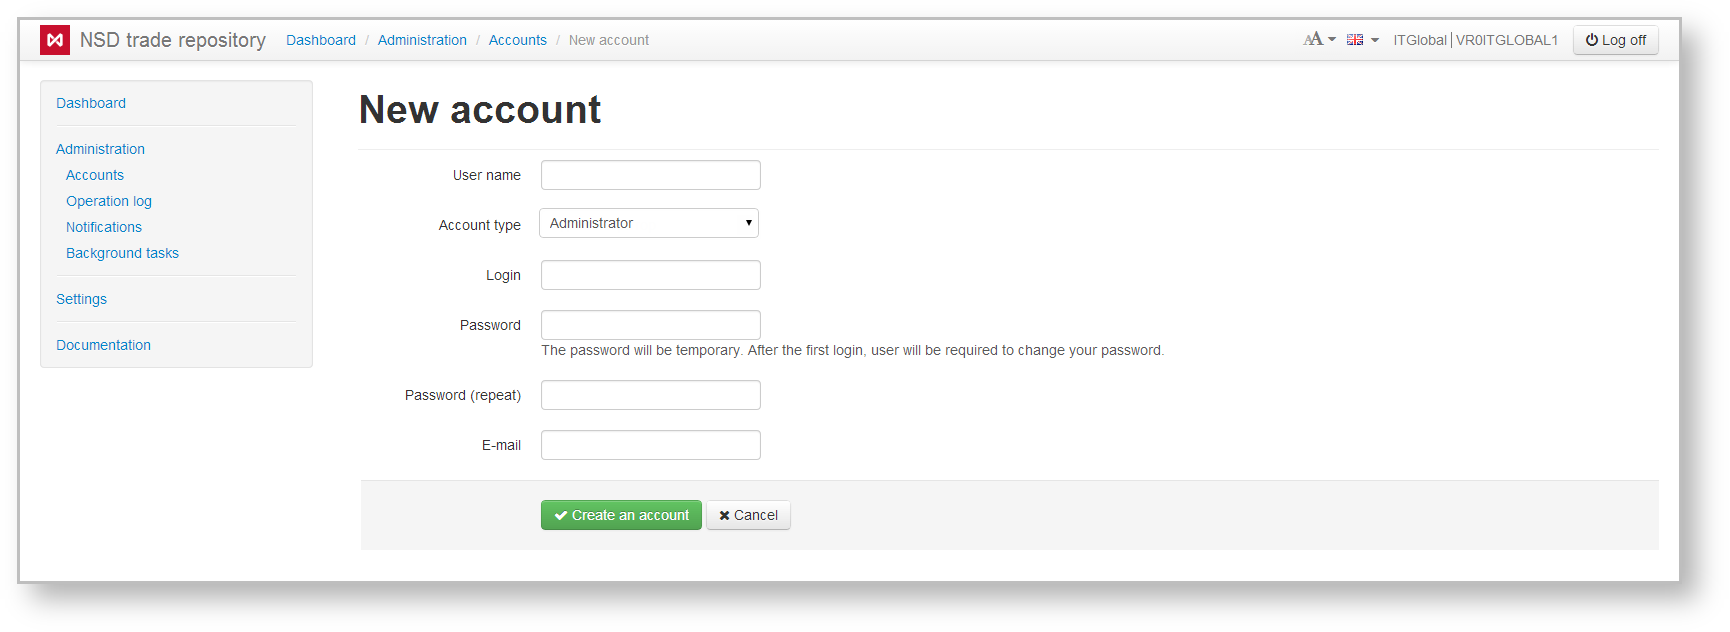
Fig. 3 – adding a new user
Fill in this form with account parameters and click  . The new account will be displayed in the list of active accounts. During the first attempt of authentication in the system the user will need to change password created by the technical administrator for information security. After that the user can continue to work in the system.
Accounts are set up using the toolbar that pops up when hovering the mouse over the row of the account table (Fig. 4).

Fig. 4 – toolbar
The toolbar buttons are described in Table 1.
Table 1 – Toolbar buttons
| Button | Description | Form |
|---|---|---|
Clicking on the button the user is taken to the access right restriction form In this form, the technical administrator can create a set of master agreements for the operator with access to the information regarding these agreements. For example, if the registration of contracts under a certain master agreement is delegated to a certain employee, and he should not have access to information regarding any other agreements, the only corresponding agreement should be marked by checkbox | 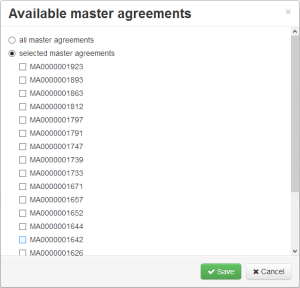 | |
| Clicking on button the user is taken to the account editing form The account editing form allows the administrator to change name, login name, account type and email address | 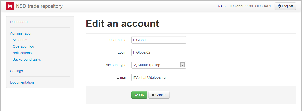 |
Clicking on button opens an account password change form After changing the password the technical administrator must deliver the new password to the user. When the user first logs into the Web-client, he must change the password to be able to further work in the system | 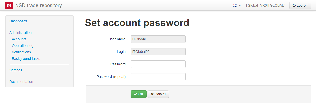 | |
| Clicking on this button the user is taken to the delete account confirmation form. Deleted user accounts are displayed in the Deleted accounts tab | 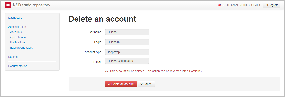 |
There are two ways to change user roles.
The first way: click the button. As a result, the account editing form will open. In this form you need to select a value in the Account type drop-down list (Fig. 5.1) and click OK button to save it (Fig. 5.2).
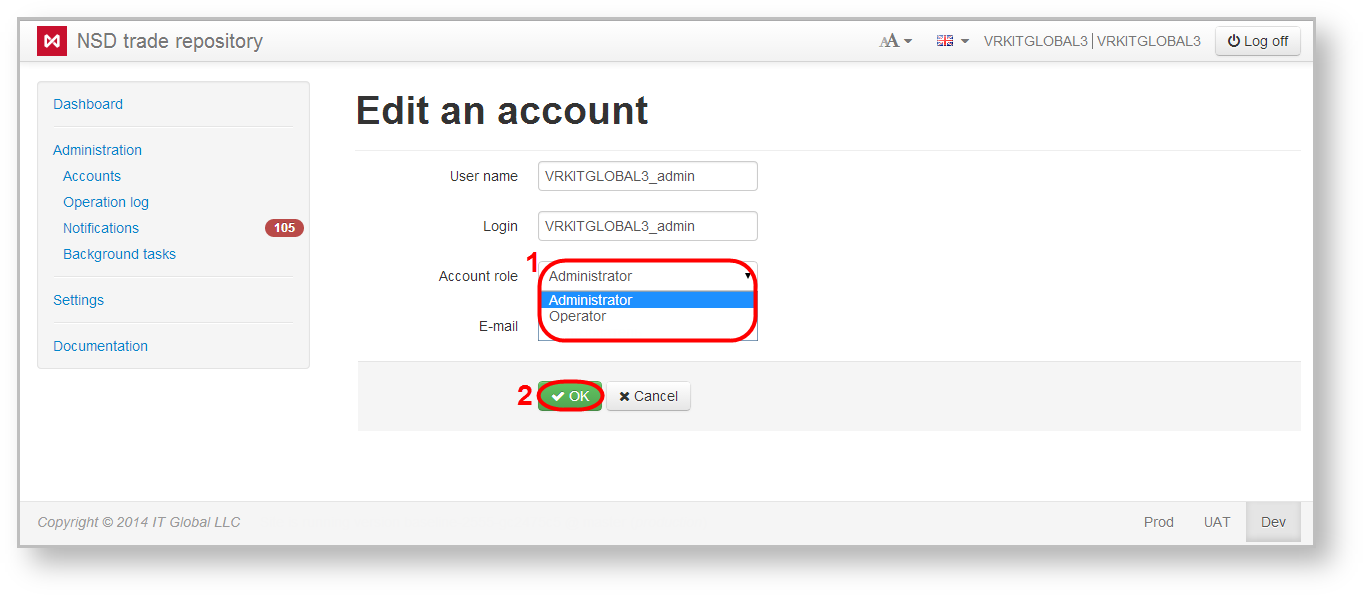
Fig. 5 – changing roles
The second way:
check the appropriate checkboxes at the accounts to be changed (Fig. 6.1). As a result, the Edit role button will be shown;
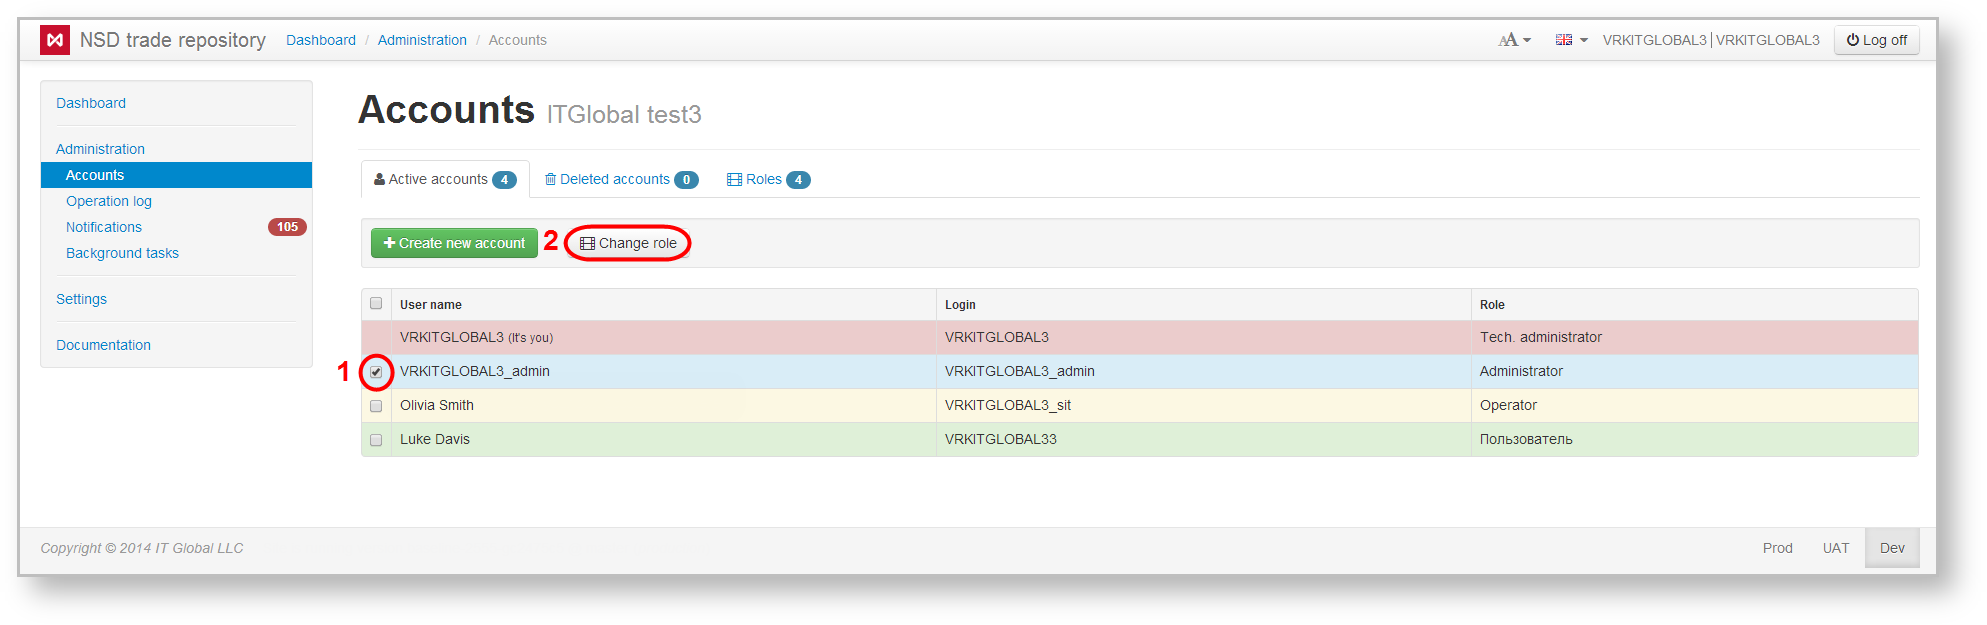
Fig. 6 – Role tab
click the Edit role button (Fig. 6.2);
choose the necessary role (Fig. 7.1). Access rights for this role are specified in the Navigator and the Rights fields (Fig. 7.2);

Fig. 7 – changing the account type
click the Select button (Fig. 7.3) to apply settings.
Deleted accounts
The tab Deleted accounts displays a list of deleted accounts. You can restore a deleted account by clicking the  button, which opens on hovering the mouse over the row in the table. The restored accounts are displayed in the Active accounts tab (Fig. 8).
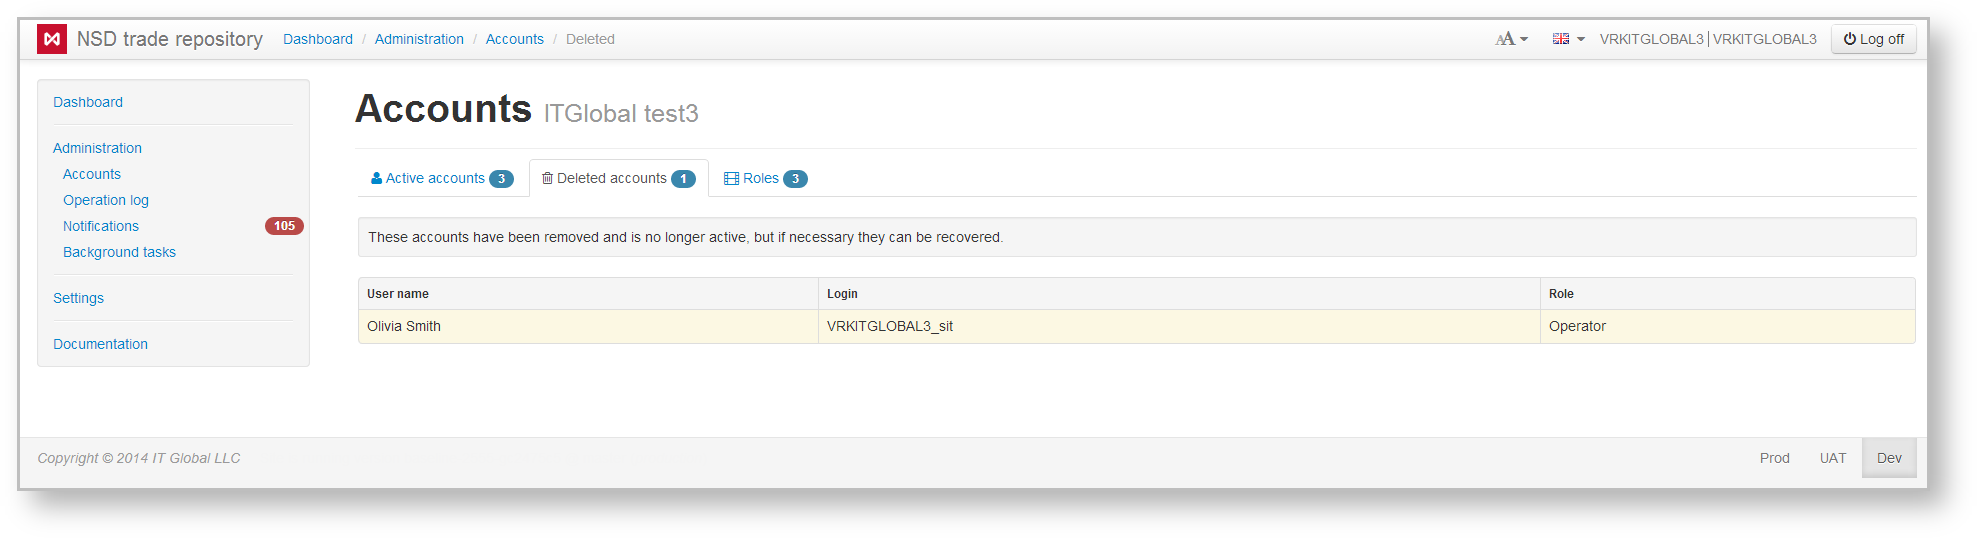
Fig. 8 – Deleted accounts tab
User roles in the system
By default in Web-client has three types of accounts (technical administrator, administrator, operator). The list of available roles is displayed in the Role tab (Fig. 9).
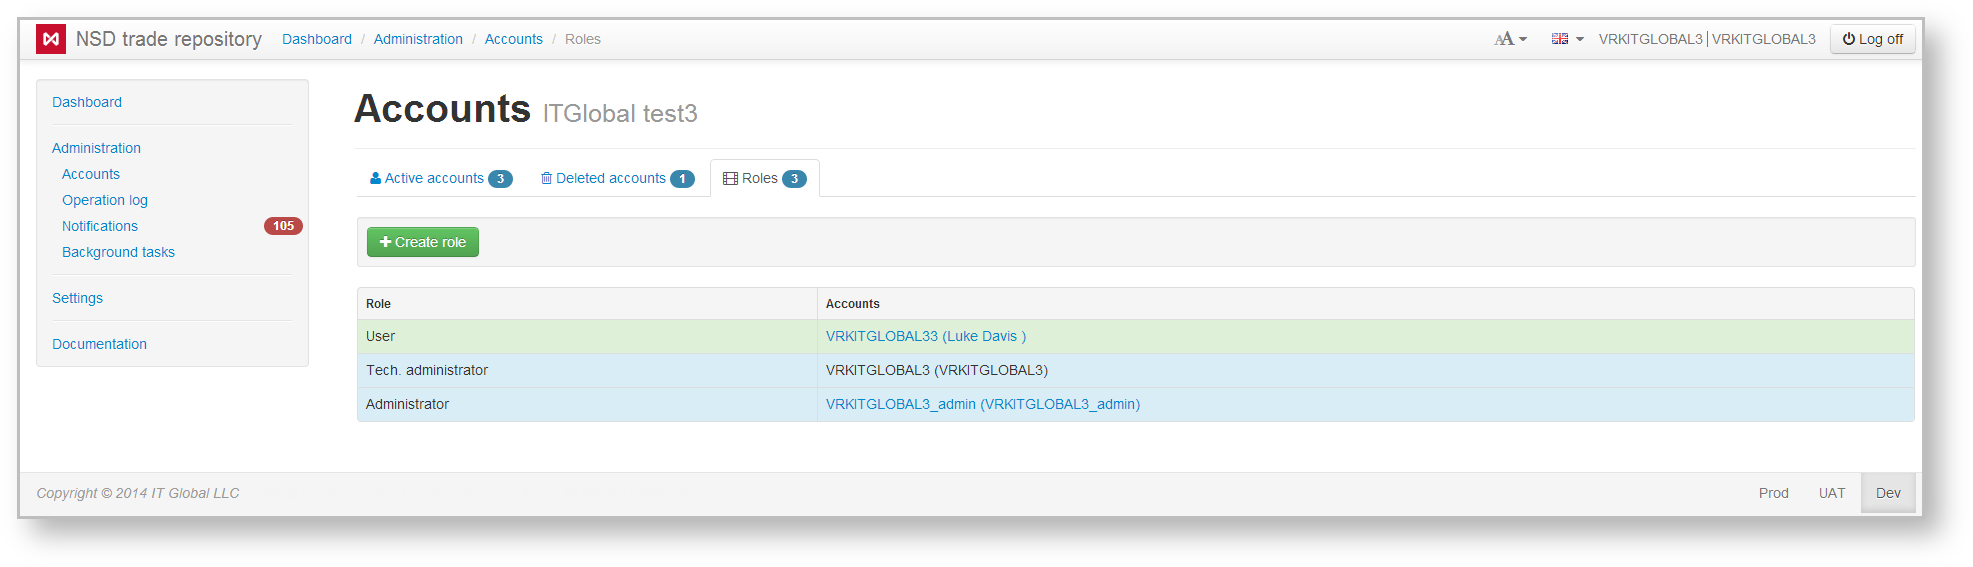
Fig. 9 – Role tab
If the the parameters of the basic roles are not suitable for solving problems, you can create custom roles and specify access rights for them. To do this:
- click on the
 button. As a result, the New role window will appear (Fig. 10.1);
Fig. 10 – new account role - enter the role name (Fig. 10.1);
- specify forms and rights available for the roleby checking the appropriate checkboxes (Fig. 10.2 and 10.3);
- click the Save button (Fig. 10.4).
As a result, a new role will be created. You can change access rights of the role using the  button in the pop-up toolbar. Clicking the button opens a window (Fig. 11), where you will need to enter the required values and click the Save button.
Fig. 11 – changing access rights
To delete a custom role you need to click on the  button. If the Web-client has an active account with this role, the button will be unavailable.
![]() You cannot delete or edit the basic roles.
You cannot delete or edit the basic roles.
Operations log
The operations log records all events that occurred in the system during the user experience. Operation logs are used to determine the source of current system malfunctions, as well as to prevent possible problems. The information in the log (Fig. 12) is displayed in the form of a table that contains:
- operation number;
- date and time;
- user name;
- category and the name of the operation.
Each record in the table can be opened for detailed view (Fig. 13) with the button that pops up when hovering the mouse over the table row.
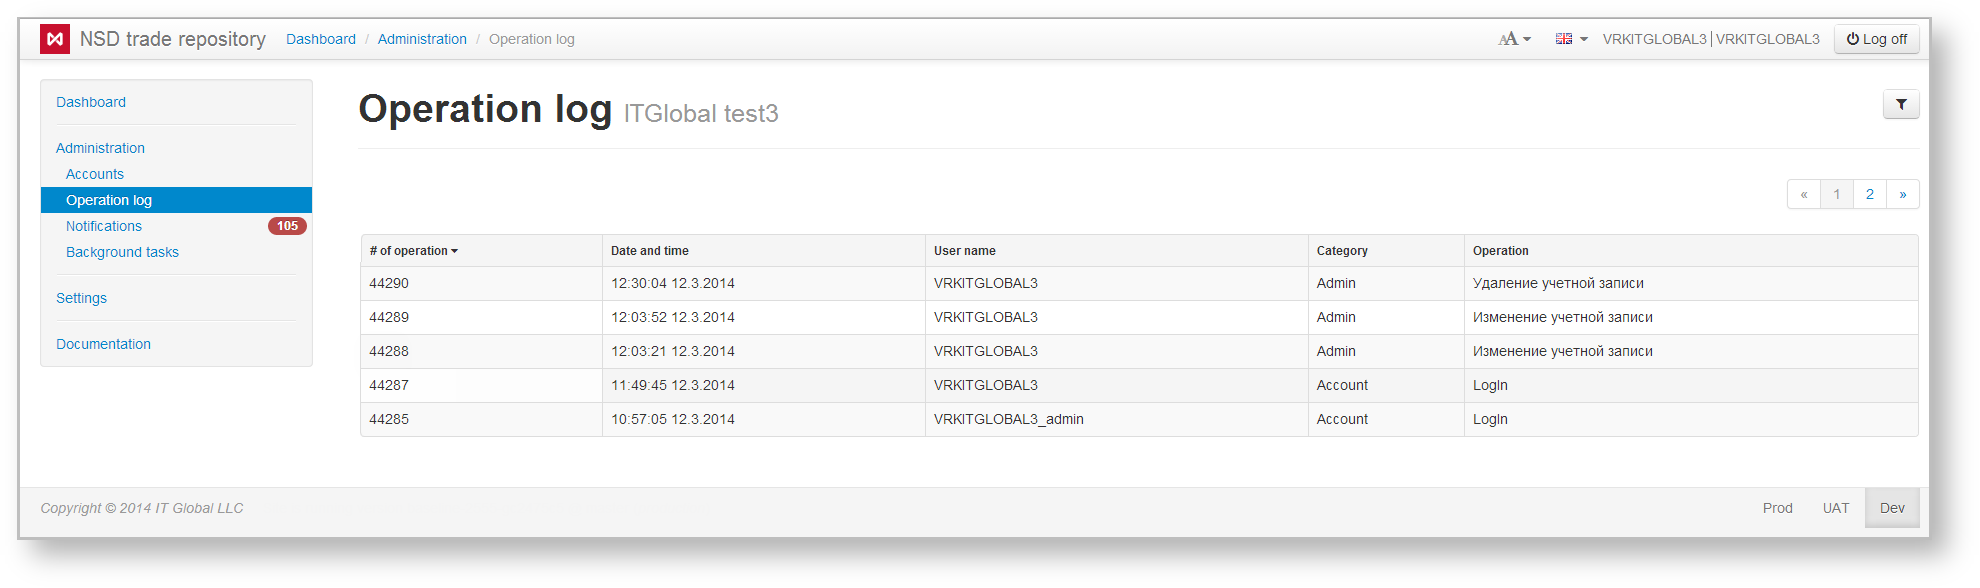
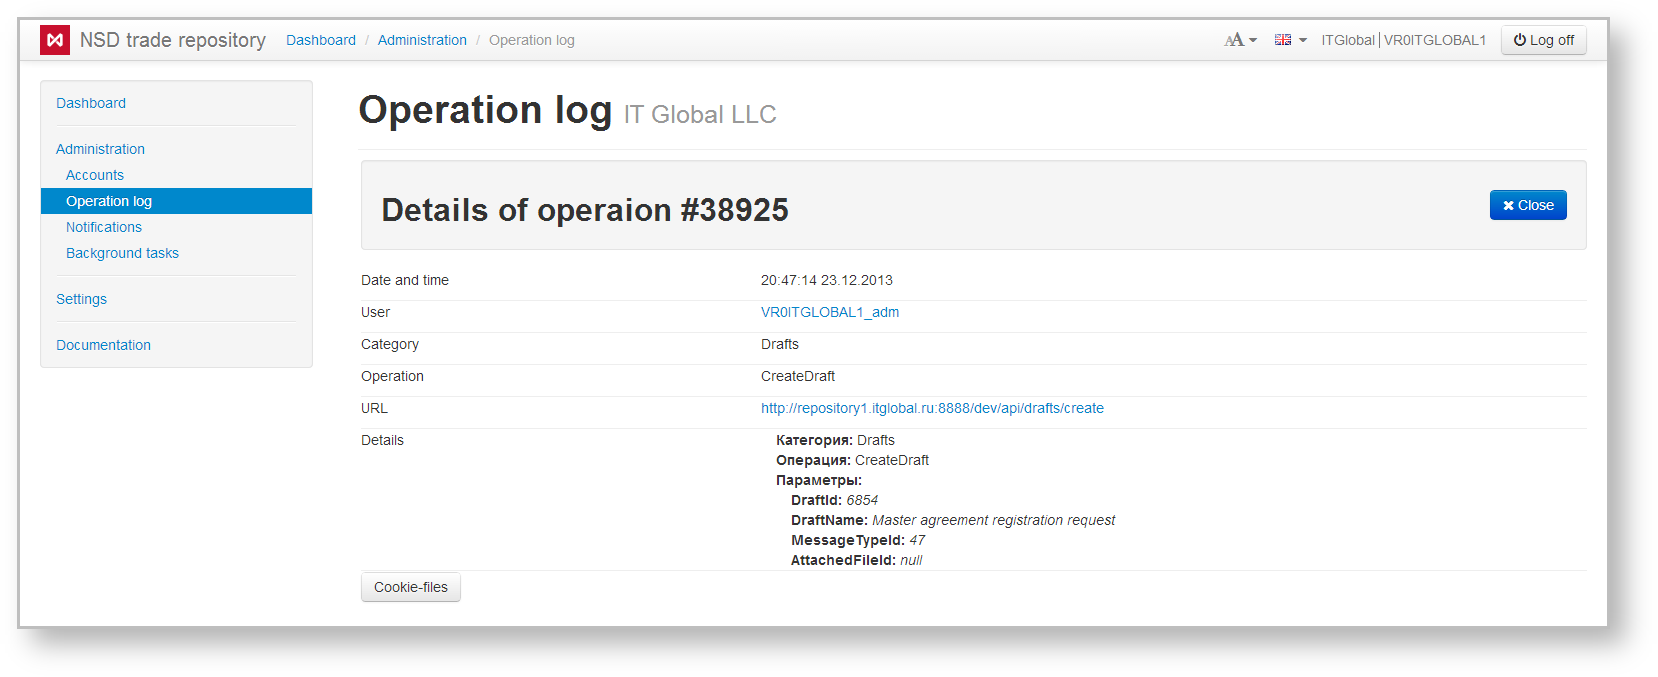
Fig. 12 – operations log Fig. 13 – operation details
By default, the log displays all operations. Certain operations (for example, performed by an administrator) can be viewed using filters. To apply filters, to open the settings bar by clicking on button and define the required parameters (Fig. 14).
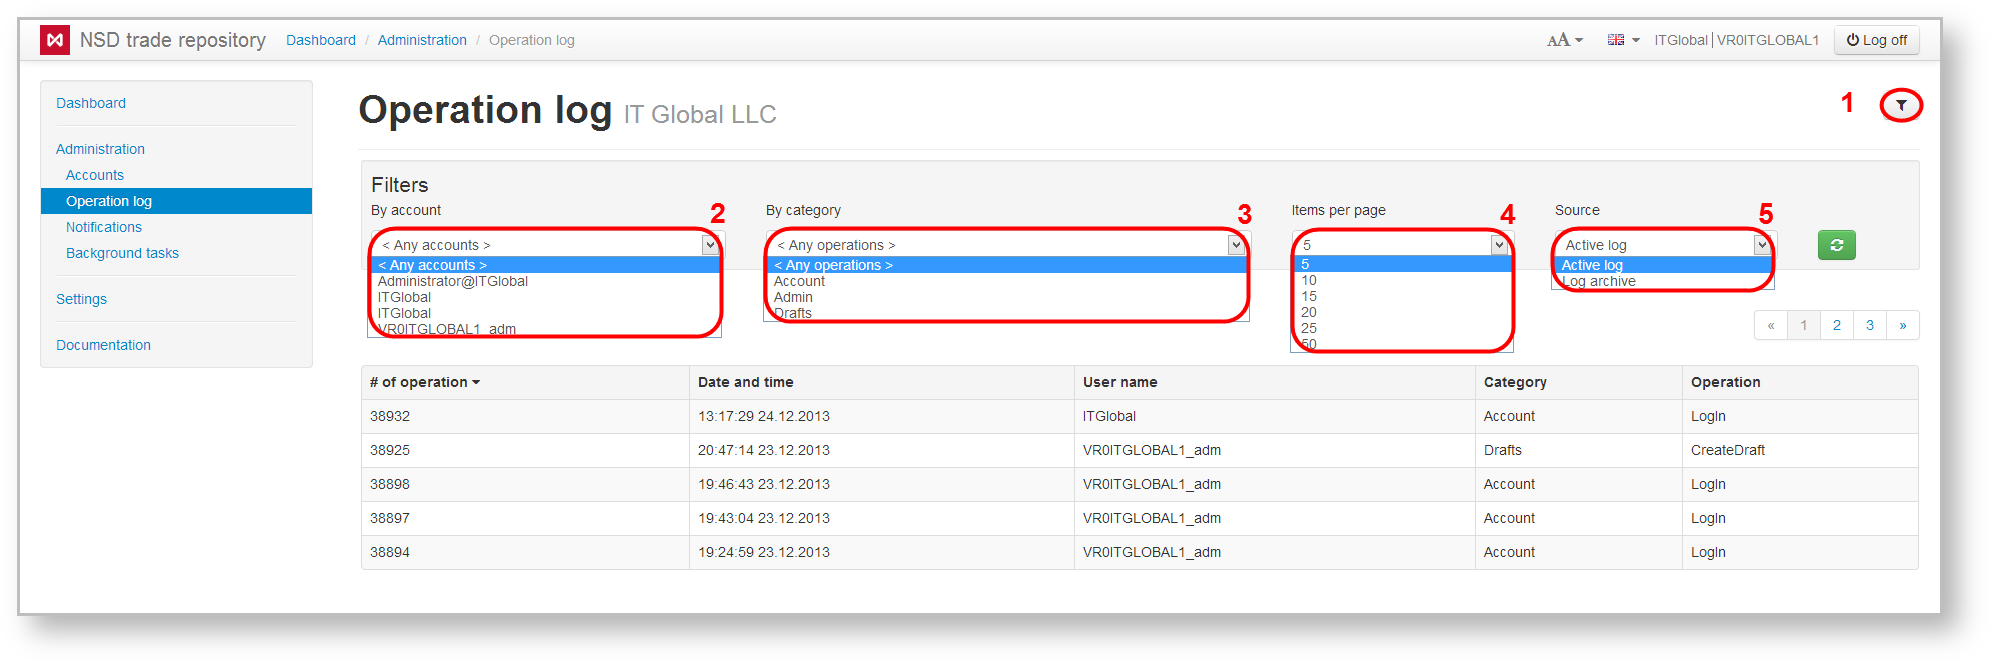
Fig. 14 – setting up filters
Filters implemented in the Web-client are described in Table 2.
Table 2 – Filters for configuring the operations log
Filter number | Filter name | Description |
|---|---|---|
| 2 | By accounts | The filter is used to display operations that were performed under a specific account |
| By category | The filter is used to display operations of the following categories:
|
| 4 | Entries per page | The filter is used to set the number of transactions to be displayed on a page |
| 5 | Section | The filter is used to display Archive that contains operations performed 7 days ago |
Operations corresponding to your search criteria will be displayed in the table.
Notifications
The Notifications form (Fig. 15) displays a list of system transactions and errors that occurred during their performance. The notification contains time (Fig. 15.1) and text of the operation (Fig. 16.2). Notifications are displayed in order of receipt. New incoming messages are displayed at the top of the table.
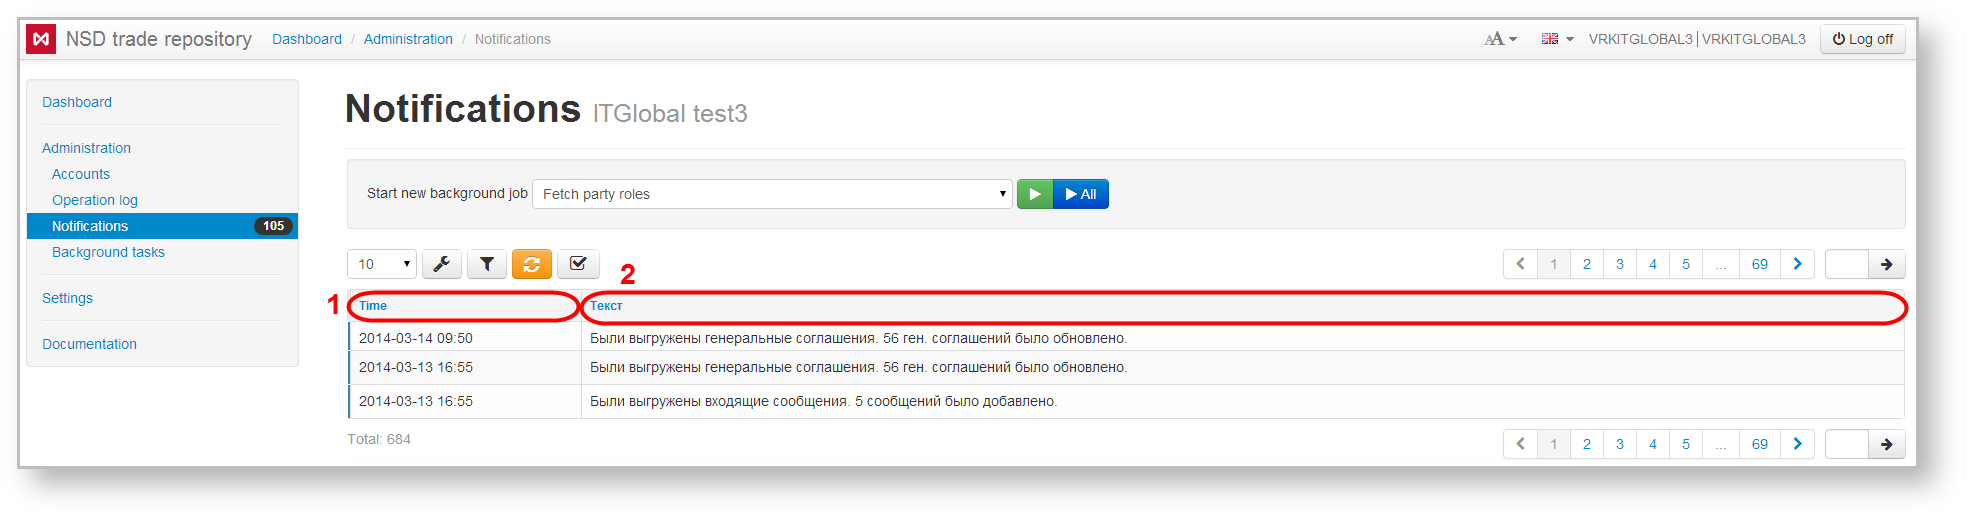
Fig. 15 – Notifications form
In this form, the following categories of notifications are available for viewing:
- export of the BRA roles;
- export of master agreements;
- export of outgoing messages;
- export of incoming messages;
- export of contracts;
- export of TransfersAndExecution;
export of contract statuses;
export of packages from the repository.
To view all operations click  (Fig. 16.1). To start a specific category of tasks you need to select a category from the drop-down list (Figure 16.2) and click
 (Fig. 16.3).
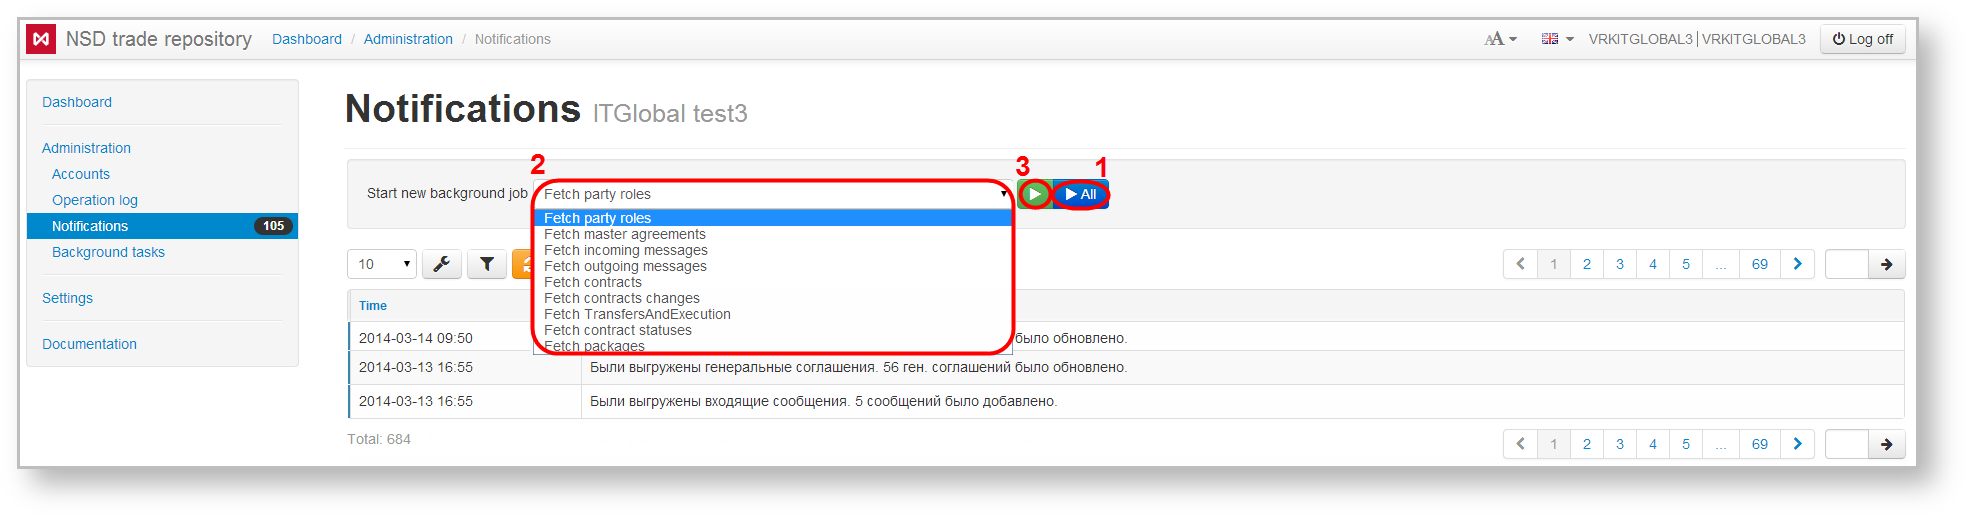
Fig. 16 – select the notification category
The Notifications form displays not only informational messages, but also system errors. To view them:
- сlick on the
 button;
 - click on
- select the type of notifications from the dropdown list (Fig. 17.1);
- click on
 (see Fig. 17.2).
Example of a system error messages is shown in Fig. 18.
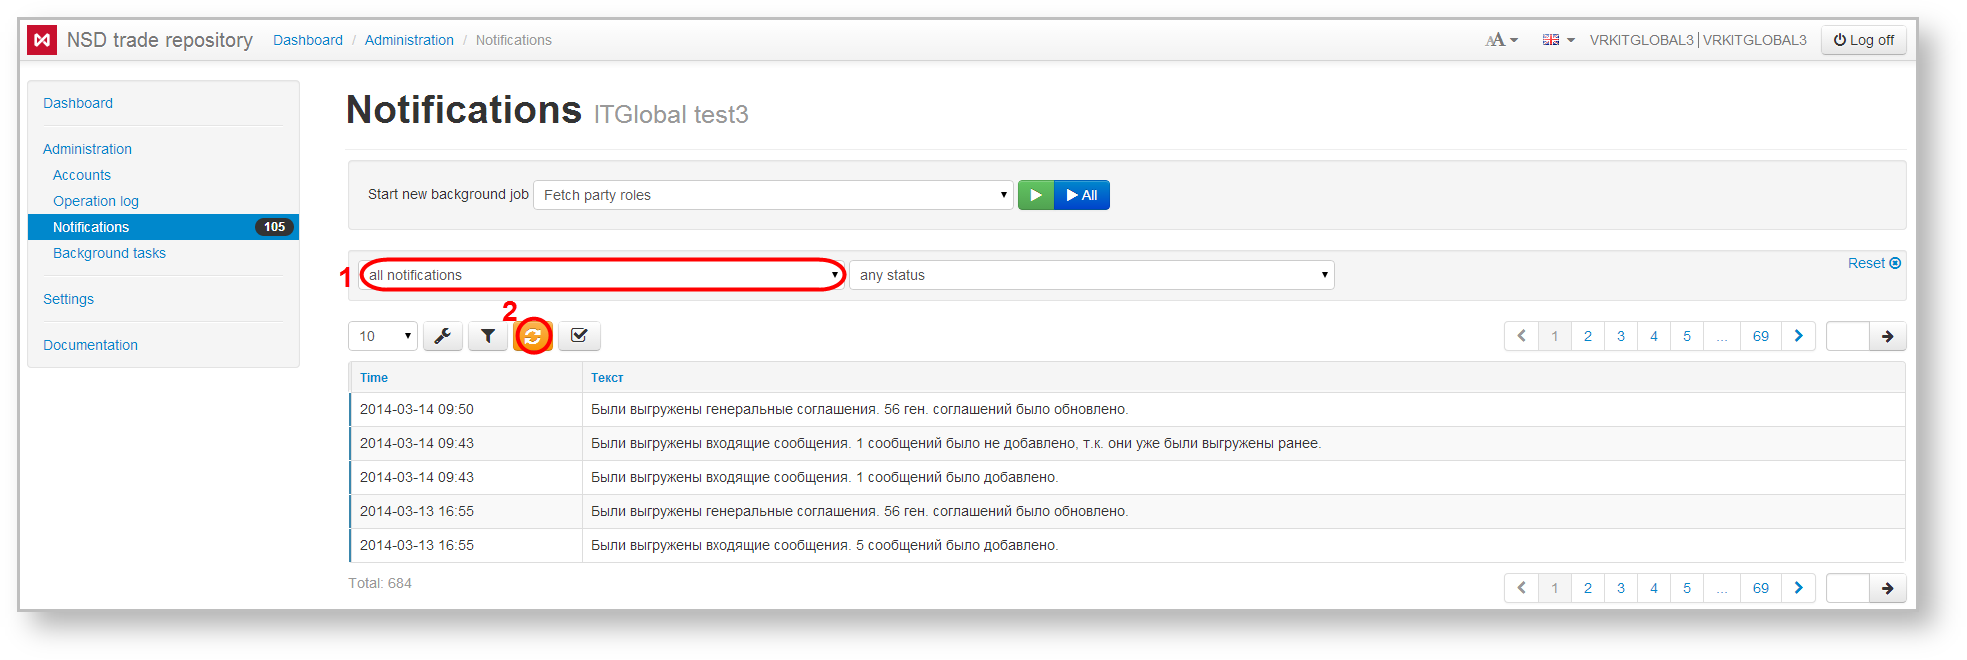
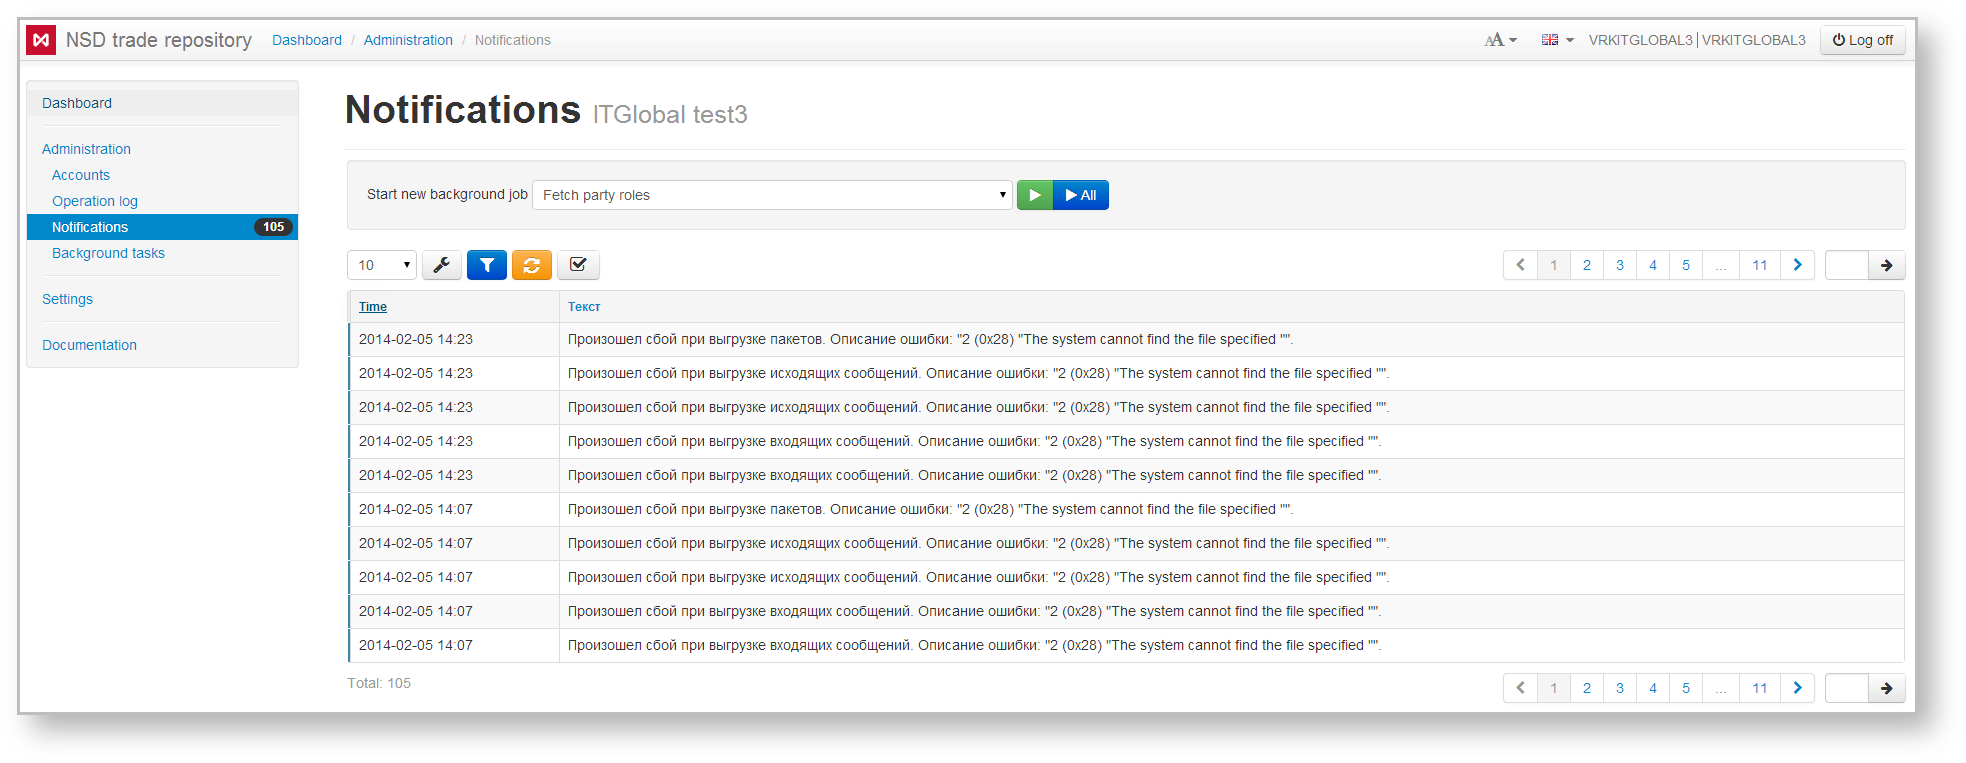
Fig. 17 – select the notification type Figure 18 – system error notification
For user's convenience the viewed messages can be grouped under a separate category Read. To do this click on button  in front of the necessary notifications. To see current and viewed notifications click on the drop-down list (Fig. 19.1), select the type of messages and click Show (Fig. 19.2).
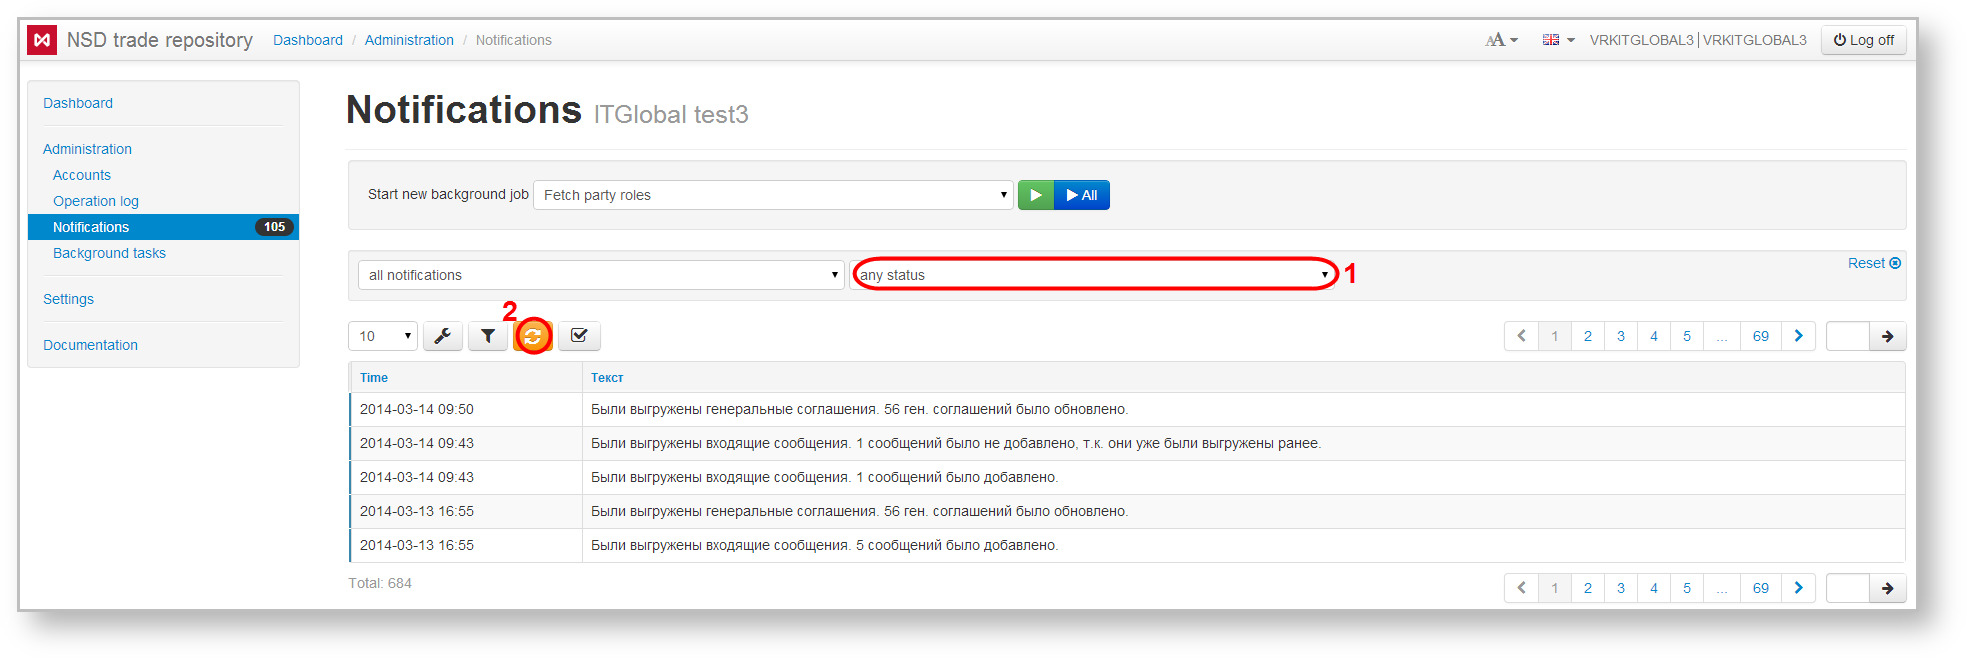
Fig. 19 – select the type of notification
Background tasks
The Background tasks form contains a list of system messages about operations that are at the stage of execution. The following categories of tasks are available for viewing in this form:
- export of the BRA roles;
- export of master agreements;
- export of outgoing messages;
- export of incoming messages;
- export of contracts;
- export of TransfersAndExecution;
- export of contract statuses;
- export of packages from the repository.
Click  to start all background tasks. To view a specific category click
 on the drop-down list and select a category, then click on button
 (Fig. 20).
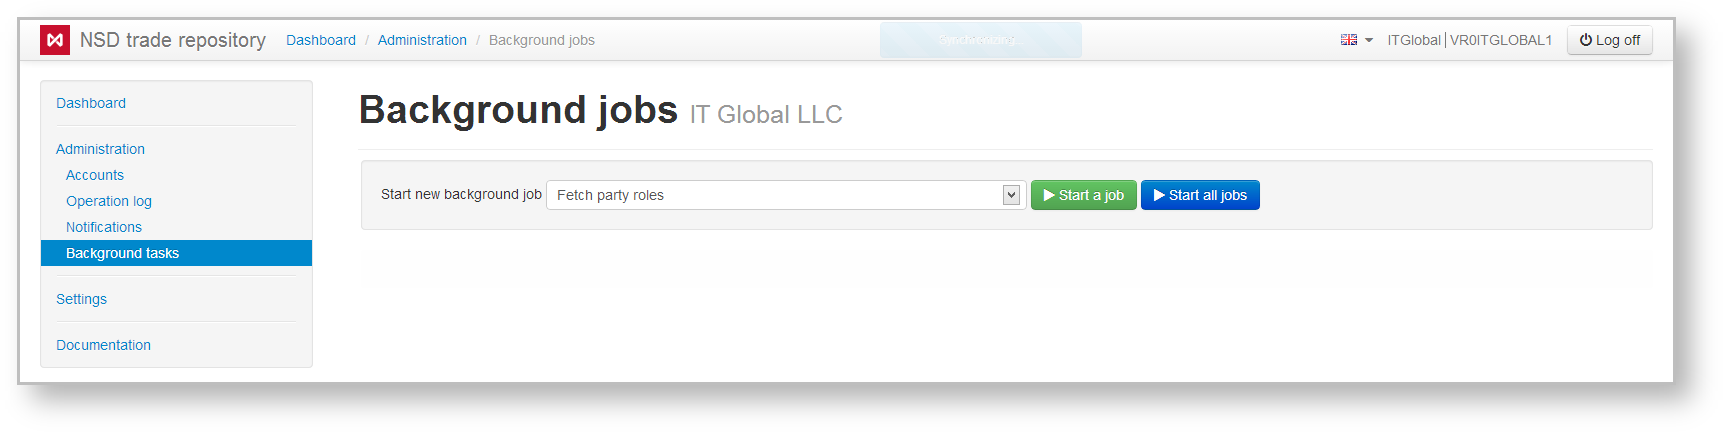
Fig. 20 – Background tasks form
This will display a list of tasks in the form of a table, where each row contains the time and the text of the task.
Overview
Content Tools