Page History
...
| Section | |||||||||||||||
|---|---|---|---|---|---|---|---|---|---|---|---|---|---|---|---|
|
go to the Draft form and click the
button (Fig. 1)
...
;
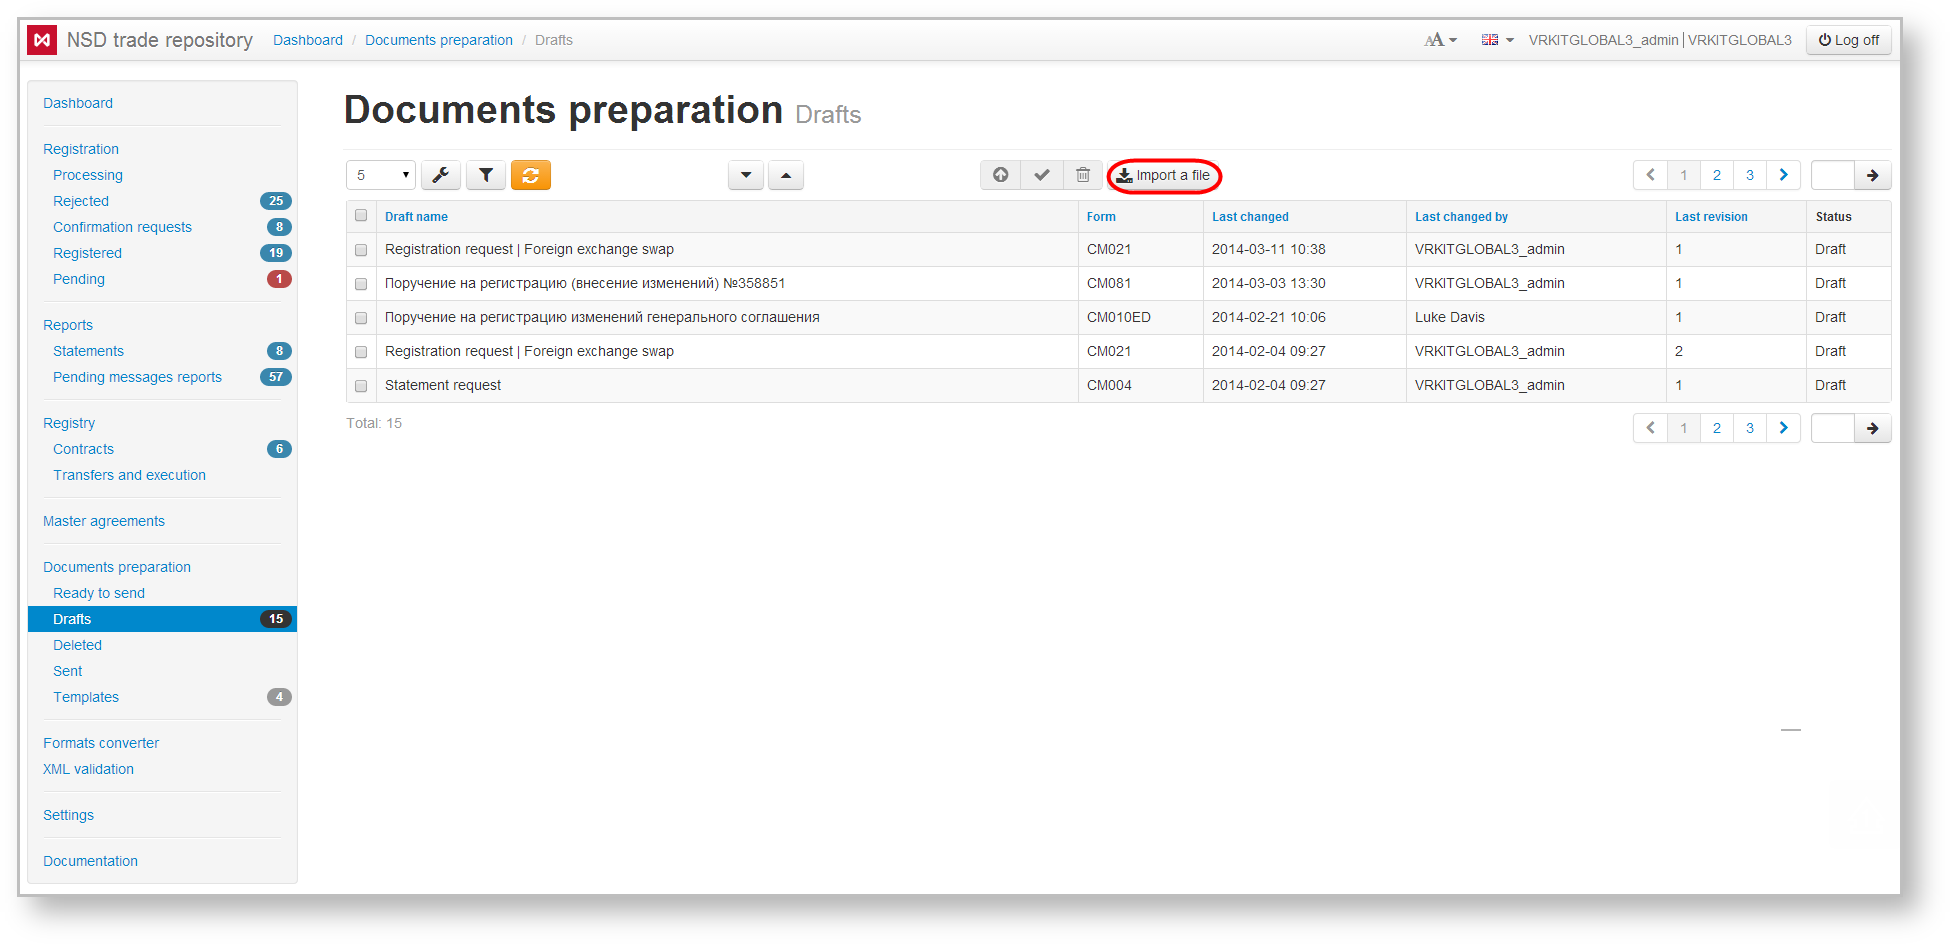
Fig. 1
...
– Drafts form
To import a file:
- click
 . click button.
 This will open the Import draft
formform (Fig. 2);
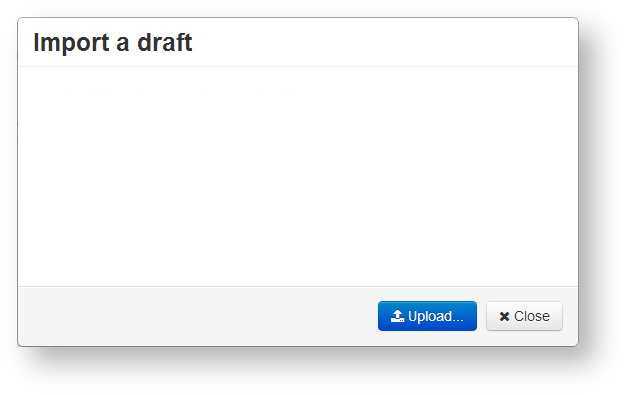
Import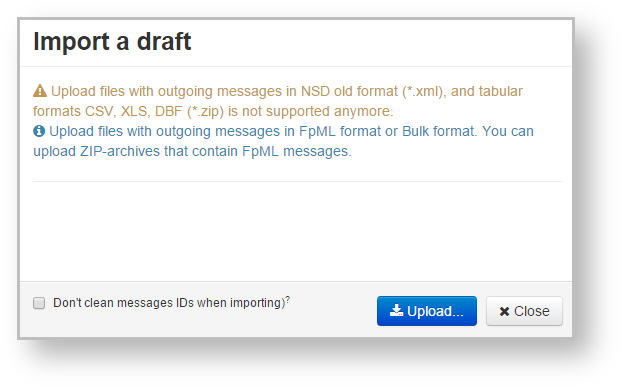
Fig. 2 –Import drafts form
click to go to choosing the required files. This
 Warning Import can be performed in two modes: with saving the messageId and correlationId or not. See more in the Import mode section.
click the
;.
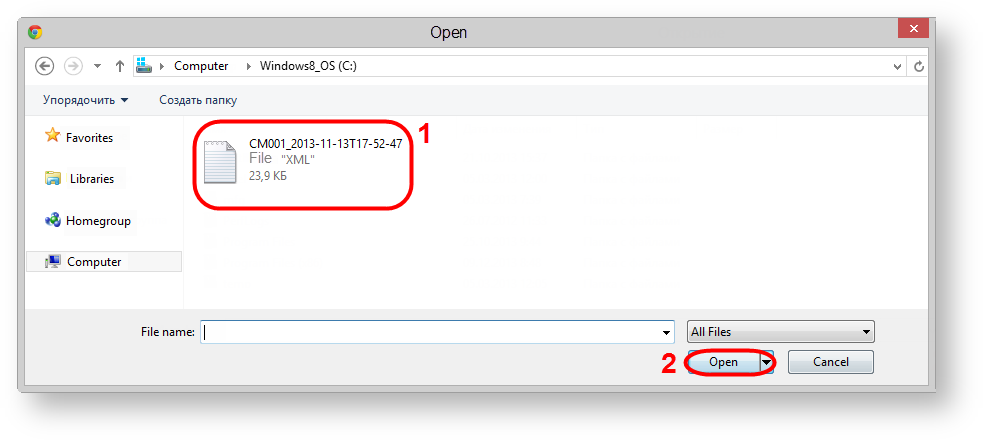
Fig. 3 – choosing file- select files or an archive (Fig. 3.1) and click the Open button (see Fig. 3.2). As a result, the selected files will be displayed in the Import draft window will display the selected files (Fig. 4). If you select an archive, all fpml-files from the archive at any window (Fig. 4).
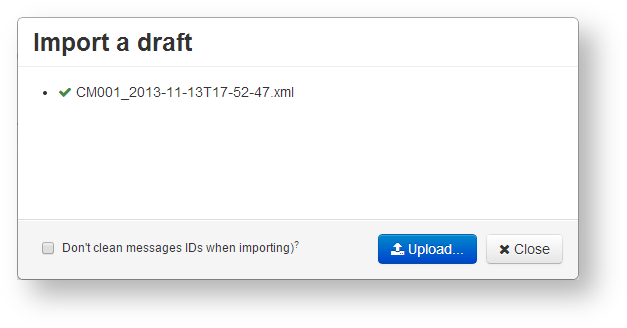
Fig. 4 – list of selected filesAt importing a bulk format is automatically converted into FpML. All orders contained in the table format, will be displayed in the Drafts form (Fig. 5). A detailed description is provided in the Bulk order upload (bulk format).
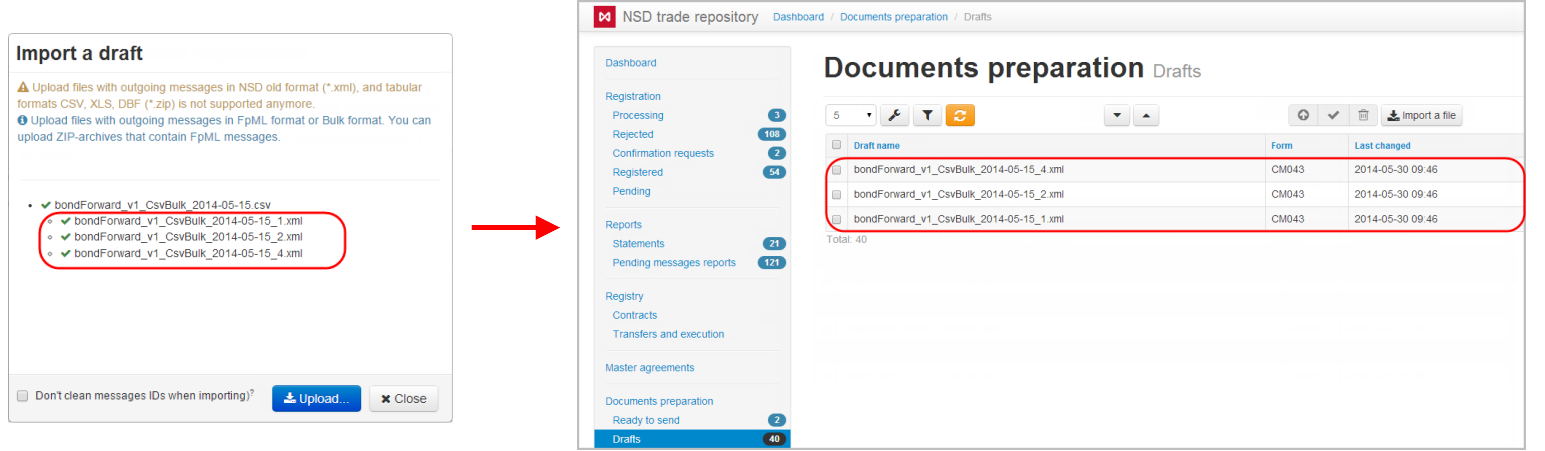
Figure 5 – importing drafts
If you have selected an archive, all FpML files from the archive regardless of its nesting level will be displayed in a hierarchical list. File format is checked during the upload. File that
doesdo not match the
fpmlFpML format
,will not be converted;
Fig. 4 – list of selected files - click
 click to
 click the
Imported files are displayed as a table in the form
...
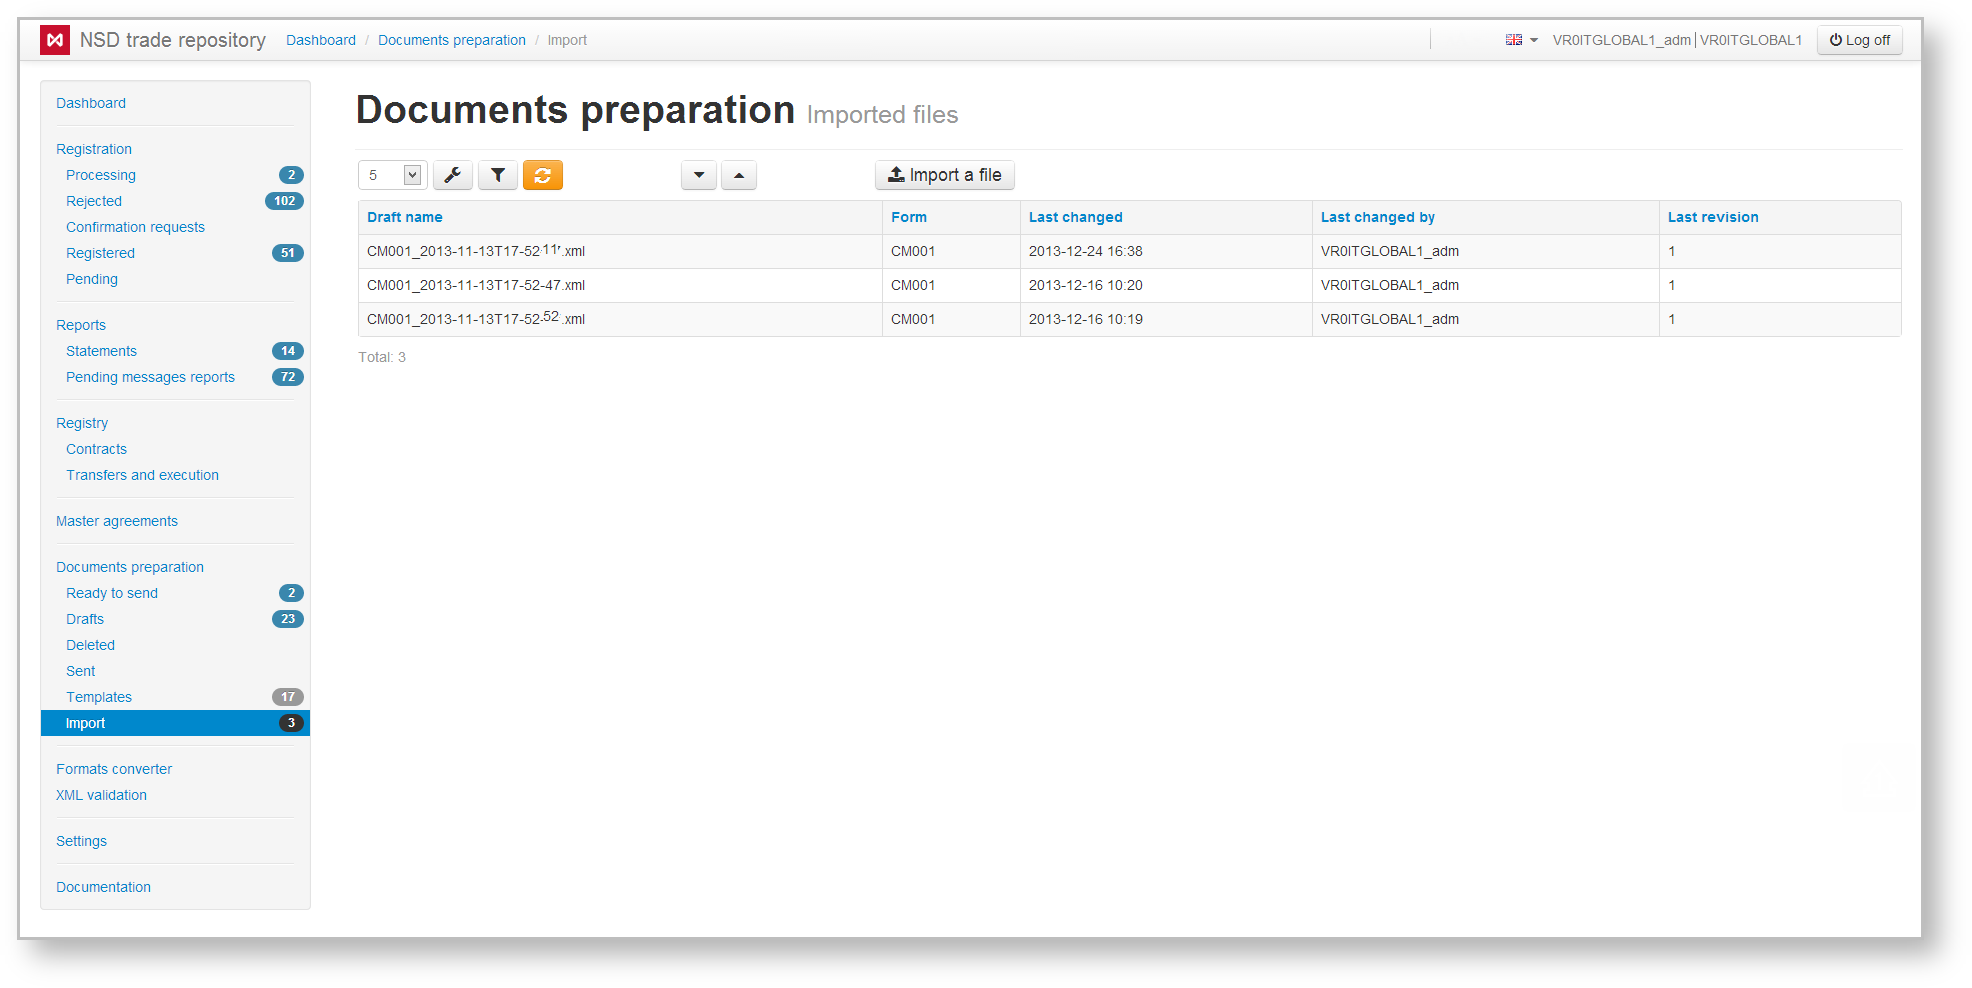
Fig. 5 – result file import
The table contains the following information:
- Draft name – message name, assigned when creating and saving;
- Form – code of the message form;
- Last changed – date and time of downloading message;
- Changed by – name of the user, who imported the file;
- Current revision – version of the document.
Hovering the mouse over the table row opens a toolbar, which is described in Table 1.
Table 1 – Description of the toolbar buttons
| Button | Description | Calling form |
|---|---|---|
Calling view form Clicking the button opens the preview form of the document, where you can view and print the data | ||
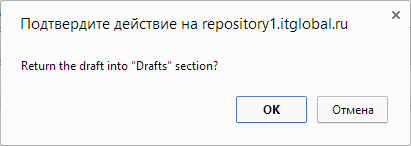
 | Saving a draft Clicking on the button opens a window to confirm the action, in which you must click OK to move the draft to the Drafts section |
|
Deleting a draft Clicking on the button opens a confirmation window, in which you need to click OK to delete. Deleted drafts are displayed in the Deleted form |
...
.
| Anchor | ||||
|---|---|---|---|---|
|
There are two modes of drafts import:
- cleared messageId and correlationId then import. The IDs can be filled manually on the editing form (Fig. 6), or automatically when sending the message to the repository;
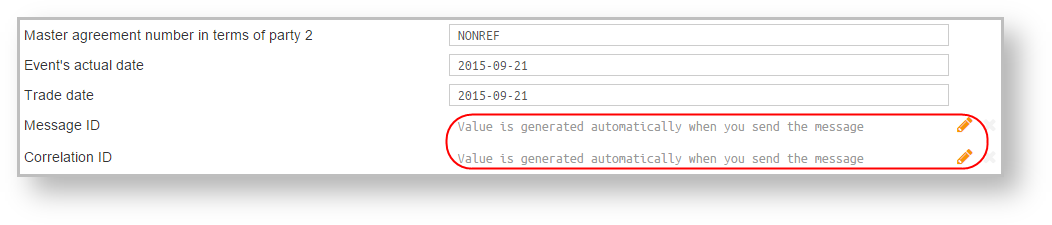 Figure 6 – editing form
- import drafts without changes (saving messageId and correlationId) (Fig. 7).
To select a mode, set the switch (Fig. 7) in the Import window.
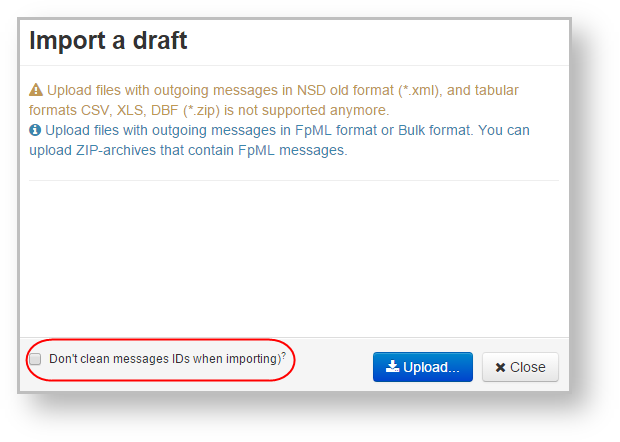
Figure 7 – Import form
If the switch is unavailable, please contact the technical administrator to enable the (Technical administrator).
Overview
Content Tools